
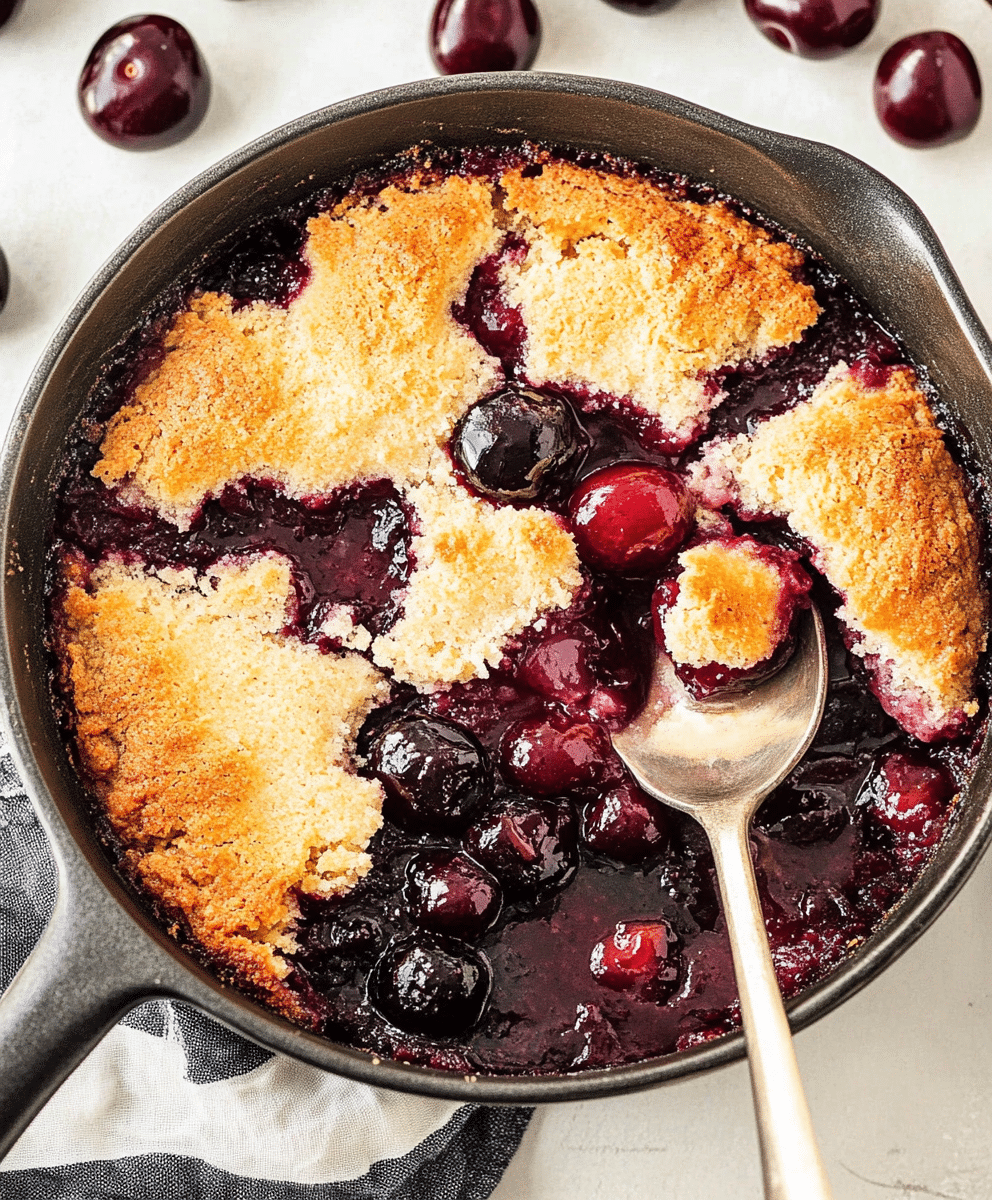
There's nothing quite like the smell of bubbling cherry cobbler filling your kitchen on a summer evening. Tart, juicy cherries tucked beneath a golden, buttery crust make this dessert a showstopper every single time.
I first made this cherry cobbler when my neighbor gifted us a big basket of just-picked cherries. It was love at first bite, and now it's my go-to whenever cherries are in season or I need an easy, crowd-pleasing dessert.
This recipe is as comforting as it is convenient. Let's dive into why you'll want to make it again and again.
Why You'll Love This Cherry Cobbler
Get ready to fall head over heels for this irresistible dessert. Whether you're making it for a family cookout or just want something sweet on a weeknight, this cherry cobbler hits all the right notes.
It’s wonderfully simple to make. You don't need fancy tools or a long list of ingredients. Just mix, pour, and bake. It’s a recipe that’s perfect for beginners but still satisfying for seasoned bakers.
Fresh or frozen cherries both work beautifully. That means you can enjoy this cobbler all year long, even when fresh cherries are out of season. Just thaw and drain frozen cherries before using.
Budget-friendly and pantry-ready. Most of the ingredients—like flour, sugar, and baking powder—are already in your kitchen. It's a great way to stretch a dollar and still serve up something impressive.
It’s incredibly versatile. Want to add a hint of almond? Swap the topping for a biscuit crust? Use a different fruit altogether? This cobbler adapts to your cravings.
Once you try this version, you’ll see why it's a staple in our dessert rotation. Now, let’s take a closer look at the ingredients that make it shine.
Ingredients Notes
The beauty of this cherry cobbler lies in its straightforward, honest ingredients. Each one plays a role in creating a perfect balance of tartness, sweetness, and buttery richness.
Cherries are, of course, the star of the show. I prefer using tart cherries because they balance beautifully with the sugar in the recipe. You can use fresh pitted cherries when in season, but frozen cherries work just as well—just make sure to thaw and drain them first to avoid a watery filling.
Granulated sugar is used in both the cherry mixture and the cobbler topping. It enhances the natural sweetness of the fruit and helps create that golden, slightly crisp crust on top. If your cherries are particularly sweet, you can reduce the sugar slightly without compromising the flavor.
All-purpose flour gives the topping its structure. When combined with baking powder and milk, it creates a tender, cake-like crust that bakes up with just the right amount of fluff and chew.
Butter adds richness and flavor. Melted butter is stirred into the topping mixture, and a few pats can be added on top before baking for that extra indulgent finish. I always recommend using real, unsalted butter for the best results.
Baking powder is what makes the cobbler topping rise and fluff up over the cherries. Make sure yours is fresh—if it’s been in the pantry for a while, test it before baking.
You won’t need much special equipment here. A 9-inch baking dish works perfectly, and a mixing bowl or two is all you’ll need to bring it together.
How To Make This Cherry Cobbler
Making this cherry cobbler is a breeze, and the payoff is a bubbling, golden dessert that's as satisfying as it is beautiful.
Start by preheating your oven to 375°F. While it's warming up, prepare your cherries. If you're using fresh cherries, pit them first. For frozen cherries, thaw and drain them well. Toss them in a bowl with some sugar and a tablespoon of flour to thicken the juices as they bake.
In another bowl, whisk together the flour, sugar, baking powder, and a pinch of salt for the topping. Stir in the milk and melted butter until you have a smooth, thick batter. It should be pourable but not runny.
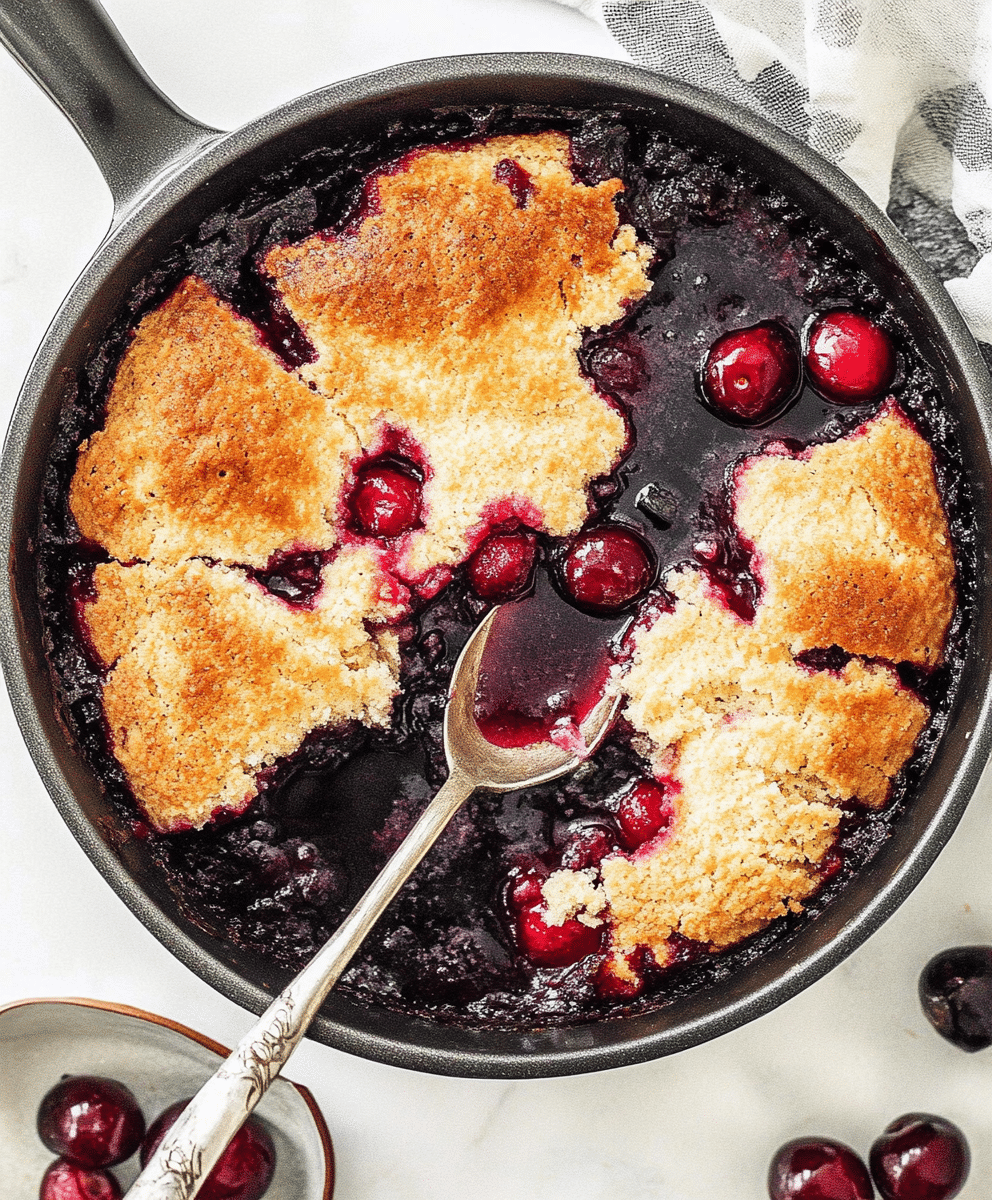
Pour the cherry mixture into your greased baking dish and spread it evenly. Spoon the topping over the cherries—it’s okay if some cherries peek through. The batter will rise and cover the fruit as it bakes.
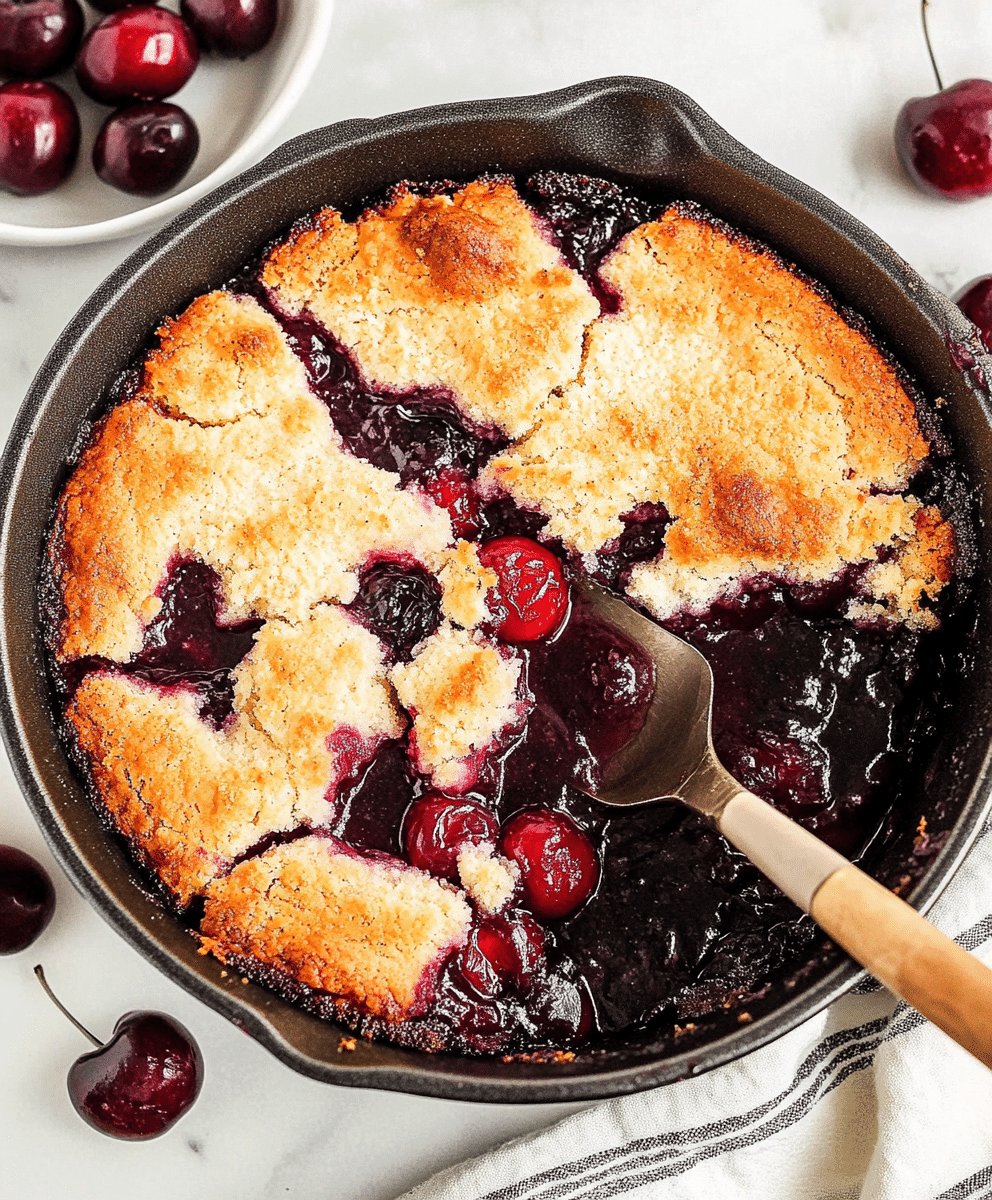
Bake for 40-45 minutes, or until the topping is golden brown and the fruit is bubbling around the edges. If you want an extra-crispy top, sprinkle a little sugar over the batter before baking.
Once it's done, let the cobbler cool for 10-15 minutes. This resting time helps the juices thicken slightly and makes serving easier. The aroma alone will be hard to resist!
Total time from start to finish is about an hour, and most of that is hands-off. The result? A rustic, homey dessert that tastes like summer in every bite.
Storage Options
If you’re lucky enough to have leftovers, this cherry cobbler stores beautifully. Let it cool completely before covering.
Store in an airtight container in the refrigerator for up to 4 days. The topping may soften slightly over time but still tastes delicious.
For longer storage, you can freeze cherry cobbler for up to 3 months. Wrap it tightly in plastic wrap and foil, or place individual servings in freezer-safe containers.
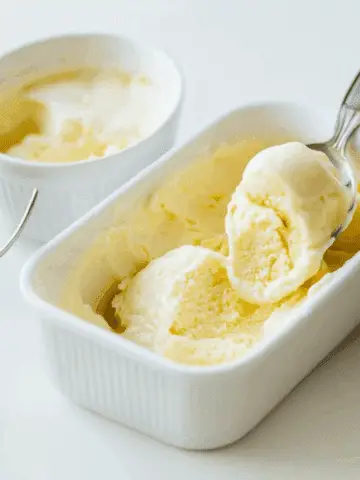
To reheat, warm individual portions in the microwave for about 30 seconds, or place the whole dish in a 325°F oven for 15-20 minutes until heated through. Add a scoop of vanilla ice cream or whipped cream just before serving for the full effect.
Variations and Substitutions
One of the best things about this cherry cobbler is how easy it is to customize. Once you’ve made it once, you’ll feel confident adapting it to suit your tastes or what you have on hand.
If you love a bit of tang, try mixing in some raspberries or blackberries with the cherries. This gives the filling an added depth and a gorgeous color.
For a richer flavor, replace a portion of the granulated sugar with brown sugar. It adds a slight caramel note that pairs wonderfully with the cherries.
Almond extract makes a lovely addition. Just a half teaspoon stirred into the cherry filling will highlight the natural almond notes in the cherries.
Want a crispier topping? Try sprinkling coarse sugar over the batter before baking, or use a biscuit-style topping instead for more texture.
Gluten-free? Substitute a 1:1 gluten-free flour blend in the topping. Dairy-free? Use a plant-based butter and almond milk. The results are just as delicious.
Don’t be afraid to make it your own—this is a recipe that welcomes creativity and always ends with smiles around the table.
PrintCherry Cobbler Recipe

This easy Cherry Cobbler Recipe features sweet, juicy cherries topped with a buttery, golden biscuit crust. Perfect for summer gatherings or a cozy dessert anytime, this homemade cherry cobbler is simple to prepare and full of flavor.
- Prep Time: 15 minutes
- Cook Time: 40 minutes
- Total Time: 55 minutes
- Yield: 6 servings 1x
- Category: Dessert
- Method: Baking
- Cuisine: American
- Diet: Vegetarian
Ingredients
-
4 cups fresh or frozen pitted cherries
-
1 cup granulated sugar (divided)
-
1 tbsp lemon juice
-
1 tbsp cornstarch
-
1 cup all-purpose flour
-
1 ½ tsp baking powder
-
½ tsp salt
-
½ cup unsalted butter (melted)
-
1 tsp vanilla extract
-
¾ cup milk
Instructions
-
Preheat oven to 375°F (190°C).
-
In a saucepan, combine cherries, ½ cup sugar, lemon juice, and cornstarch. Cook until bubbly and thickened.
-
Pour cherry mixture into a greased 9-inch baking dish.
-
In a bowl, mix flour, remaining ½ cup sugar, baking powder, and salt.
-
Stir in milk, melted butter, and vanilla extract until a batter forms.
-
Pour batter evenly over cherries (do not stir).
-
Bake for 35–40 minutes, or until the top is golden brown.
-
Let cool slightly before serving.
Notes
-
You can use canned cherries, but drain them well.
-
Serve with vanilla ice cream or whipped cream for extra indulgence.
-
Leftovers can be stored in the fridge for up to 3 days.
Nutrition
- Serving Size: 1 portion
- Calories: 310
- Sugar: 26
- Sodium: 210mg


Leave a Reply